
In this guide, you’ll learn how to make CBD-Infused chocolates at Home with this easy step-by-step guide. Discover the perfect blend of chocolate and CBD for a delicious treat!
CBD and chocolate: the ultimate chill power couple. Did you know that chocolate contains a compound called the “bliss molecule” (anandamide), which pairs perfectly with CBD to amplify those calming vibes? Let’s unwrap the magic together. If you’ve ever thought about making CBD-infused treats, you’re in the right place. Not only is this process ridiculously easy, but it’s also a fun way to customize your dose and enjoy some mouthwatering sweetness. Plus, homemade CBD chocolates are the perfect gift (or a solid excuse to eat more chocolate). Ready? Let’s get into it!
Why Have A CBD-Infused Chocolate?
A Match Made in Heaven
Chocolate and CBD are a power duo. Chocolate naturally contains compounds like anandamide (aka the “bliss molecule”), which interacts with the endocannabinoid system in your body to promote feelings of happiness and relaxation. It’s like nature’s way of giving you a little extra zen., which pairs beautifully with CBD’s calming effects. Together, they’re like a spa day for your taste buds.
The Benefits of CBD Chocolates:
- Customization: Control the ingredients, dose, and flavours.
- Stress Relief: Chocolate’s magnesium + CBD’s calming properties = stress-free snacking.
- Convenience: A tasty way to get your daily CBD dose.
What You’ll Need:
Before we dive into the chocolaty goodness, let’s gather some essentials. Using high-quality ingredients ensures a smoother texture, richer flavor, and the best overall experience for your homemade CBD chocolates.
| High-quality chocolate | 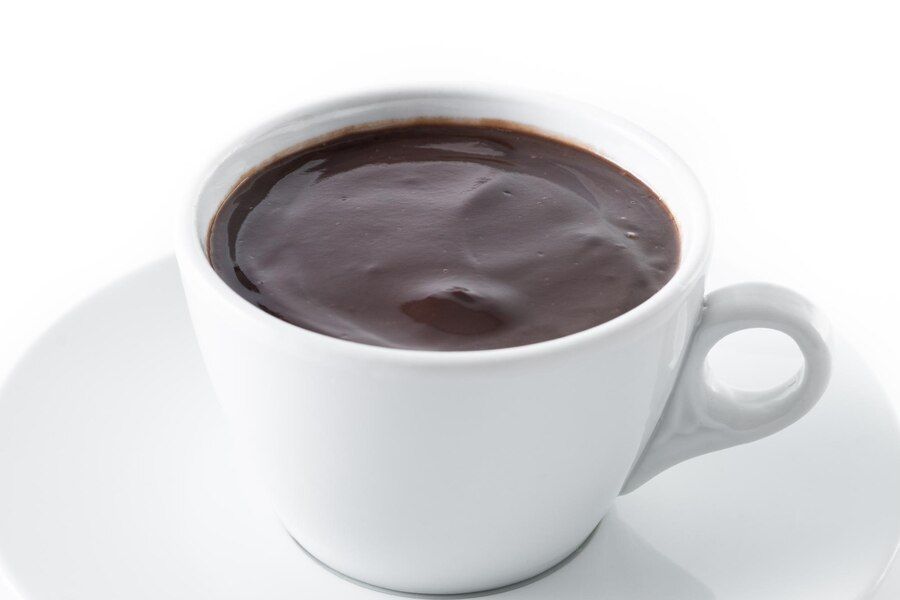 | About 1 cup of your favourite type (dark, milk, or white). Go for at least 70% cacao if you love that rich flavour. |
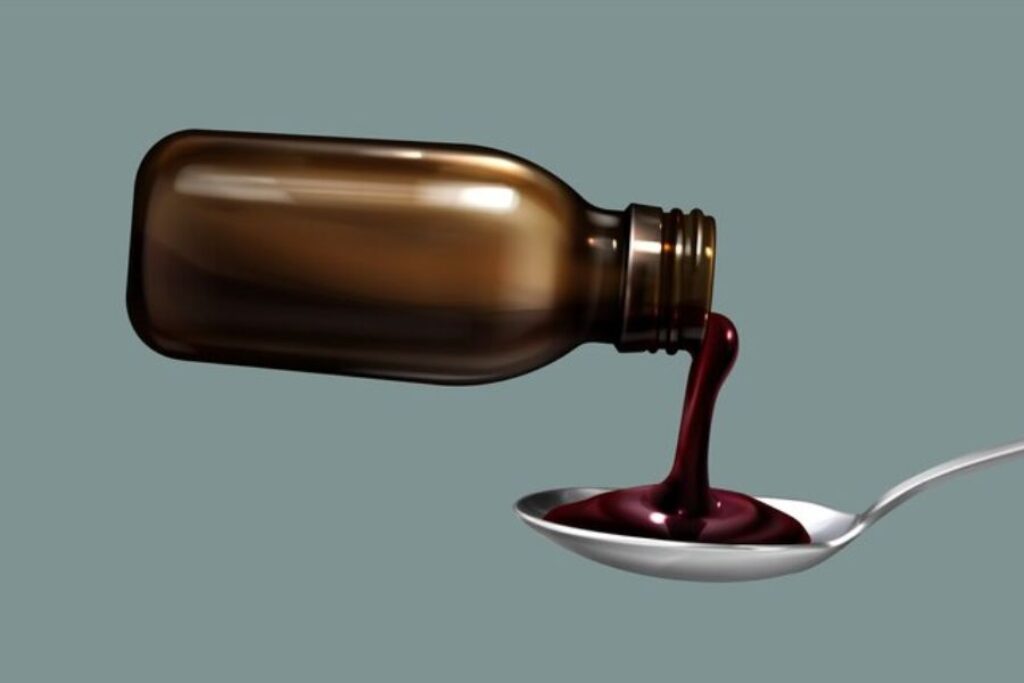
| CBD oil | 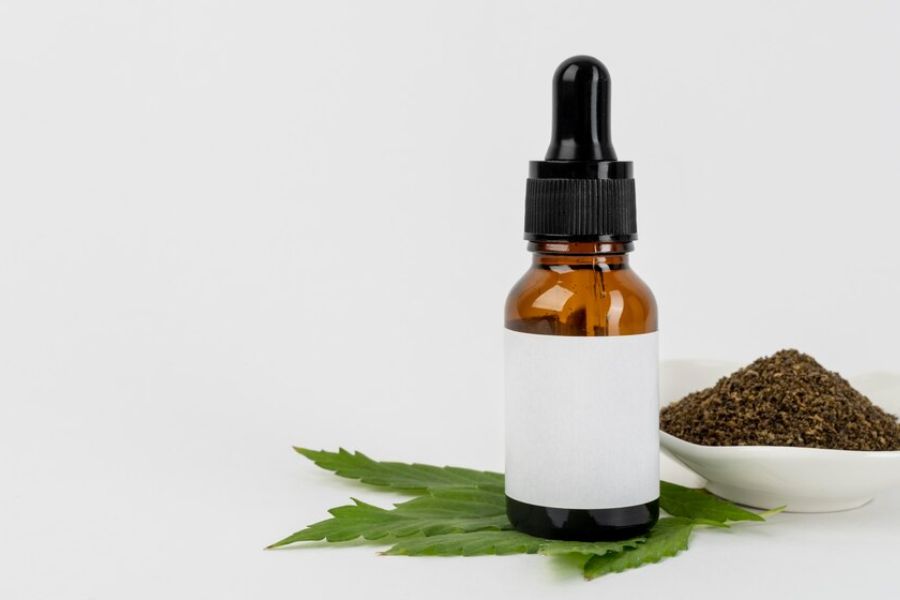 | Use your preferred CBD tincture. Make sure it’s unflavored or has a subtle taste that pairs well with chocolate |
| Optional mix-ins | 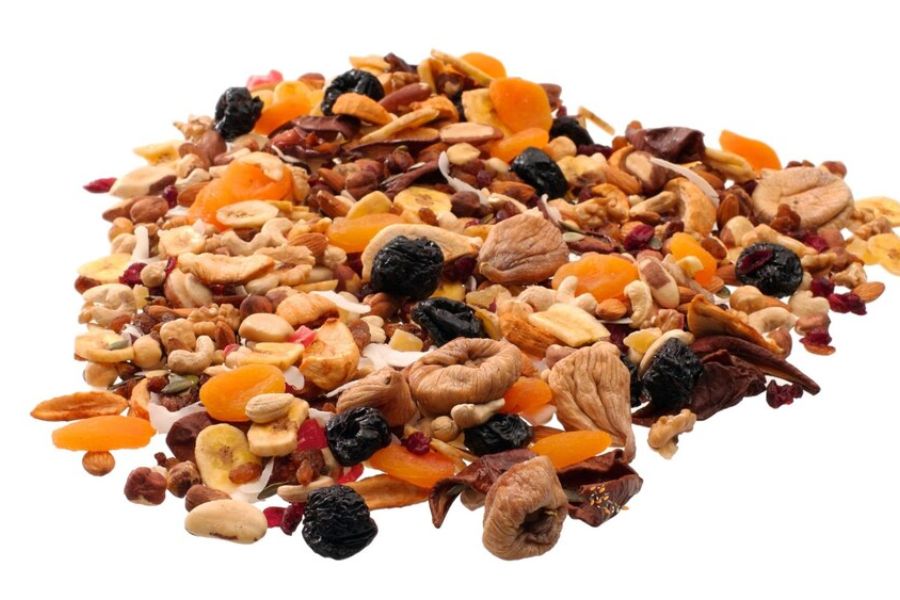 | Think chopped nuts, dried fruits, sea salt, or even a sprinkle of chilli powder for a kick. |
Required Tools:
- Double boiler (or a heatproof bowl over a saucepan).
- Silicone chocolate molds (or an ice cube tray in a pinch).
- A spatula for stirring.
- A food thermometer (optional but useful).
Step-by-Step Guide
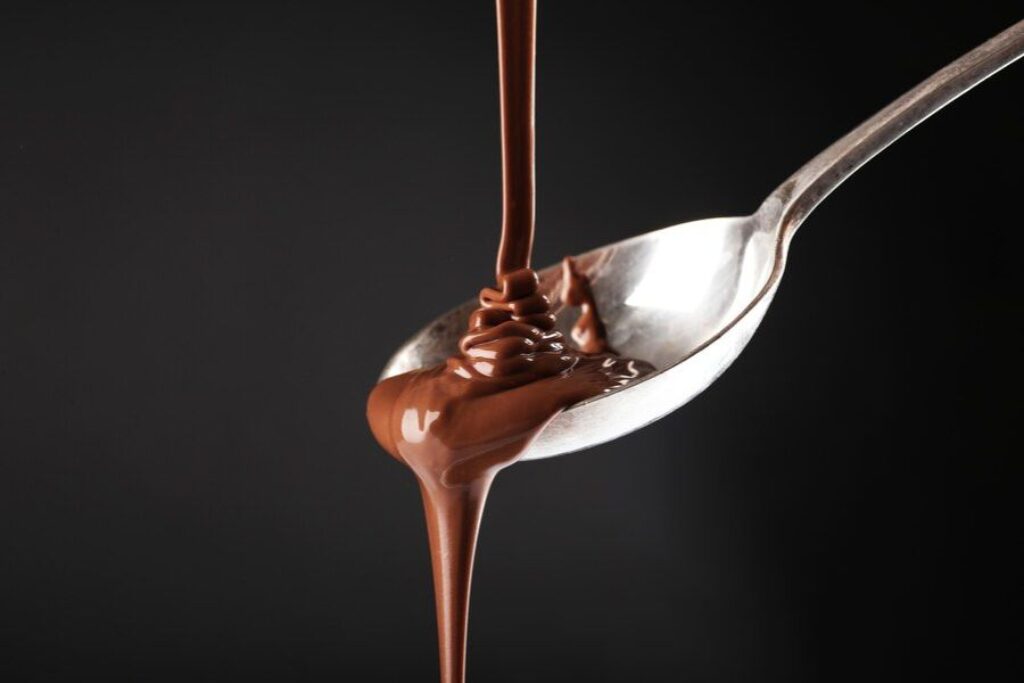
Step 1: Melt the Chocolate
- Break your chocolate into small pieces (unless you bought chips). Smaller pieces = quicker melting.
- Use a double boiler to gently melt the chocolate. Translation: put a heatproof bowl over a pot of simmering water and stir the chocolate as it melts. This keeps it smooth and prevents burning. No double boiler? Microwave in 15-second bursts, stirring in between.
Pro Tip: Avoid getting water in your chocolate. One drop can make it seize and turn into a grainy mess. Why? Chocolate contains fat and sugar, which don’t mix well with water. Even a tiny amount of moisture can cause the sugar to clump together, creating that dreaded gritty texture. (Science, baby!)
Step 2: Cool It Down a Bit
Once the chocolate is fully melted, let it cool slightly. We’re talking lukewarm, not hot. This is key because adding CBD oil to piping-hot chocolate can degrade the cannabinoids. You want the full benefits, right? Let’s keep them intact.
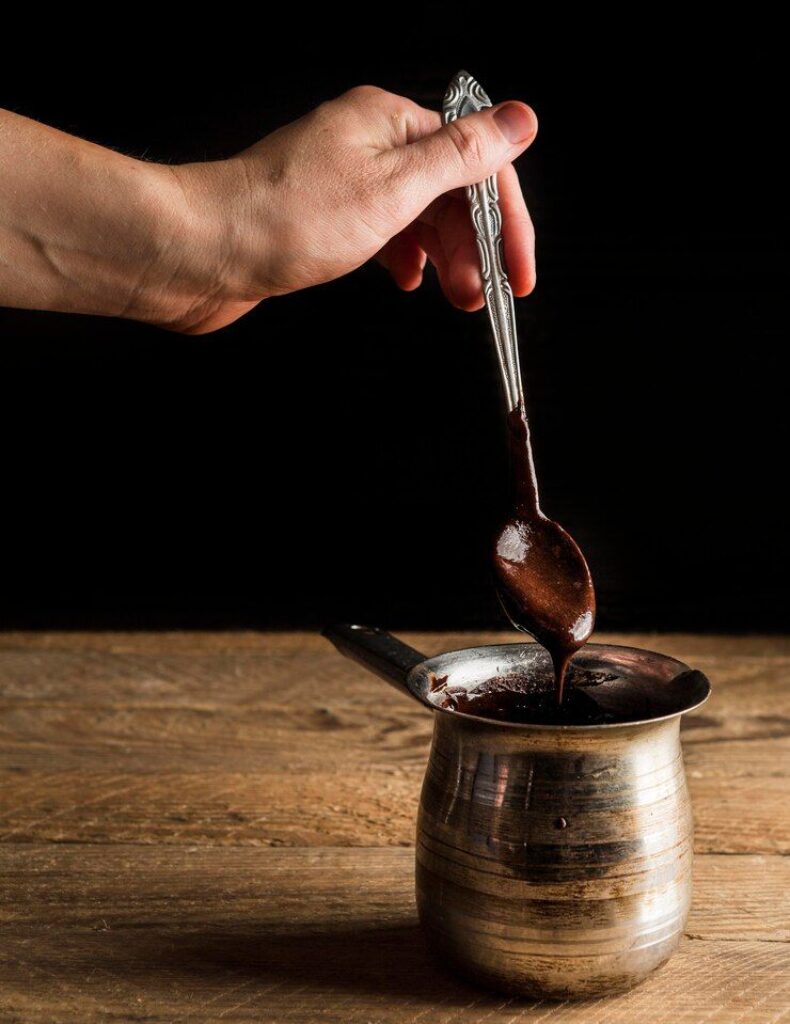
Step 3: Add the CBD Oil
- Measure your CBD oil carefully. Calculate how much CBD you want per piece of chocolate and adjust the oil accordingly. For example:
- If you’re making 10 chocolates and want 10mg CBD per piece, you’ll need 100mg total.
- Stir the oil into the chocolate. Mix well to ensure every bite has that sweet dose of calm.
Sarcastic Note: Don’t eyeball it—precision is key here to ensure consistent dosing and flavor. Unless, of course, you’re aiming for an existential adventure mid-chocolate bar! Precision is key here, folks.
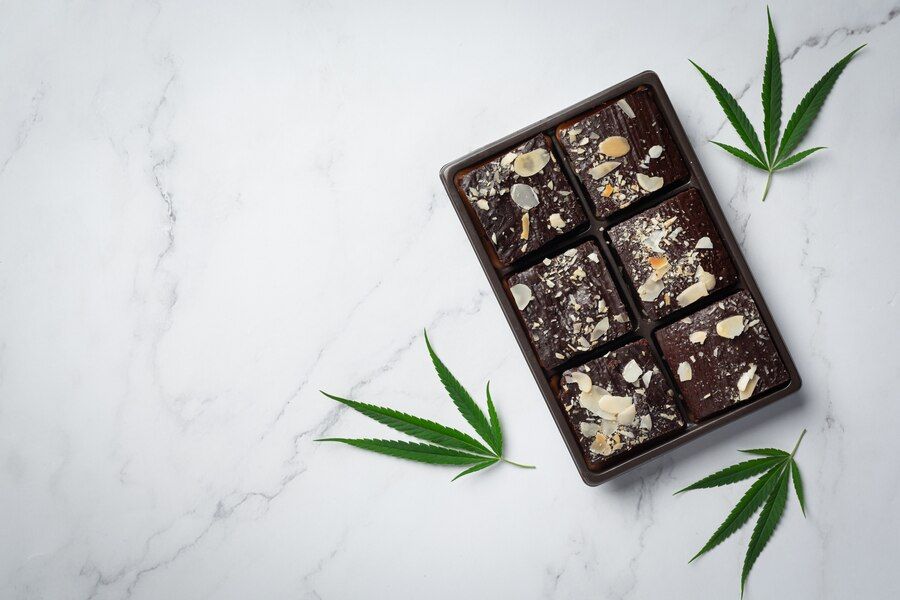
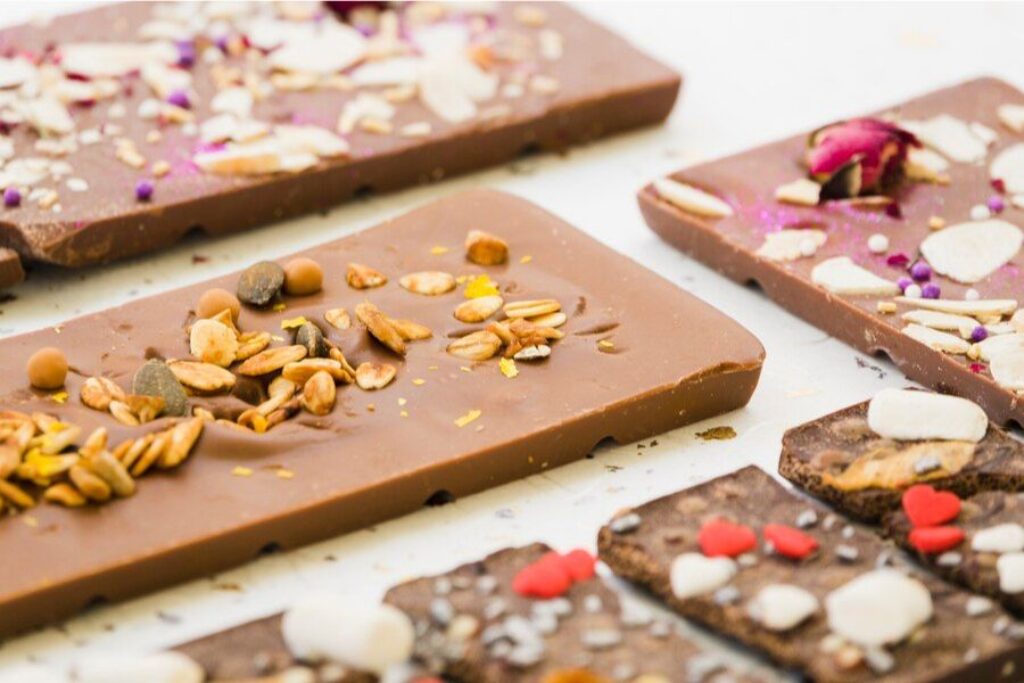
Step 4: Customize Your Chocolates
This is where you get creative. Mix in your favorite extras:
- Sea salt: Sprinkle some on top for a fancy touch.
- Nuts: Almonds, hazelnuts, or pistachios add crunch.
- Dried fruit: Goji berries, cranberries, or even chopped mango.
- Spices: A pinch of cinnamon or cayenne for flair.
Stir the add-ins into the chocolate or sprinkle them on top once poured into molds.
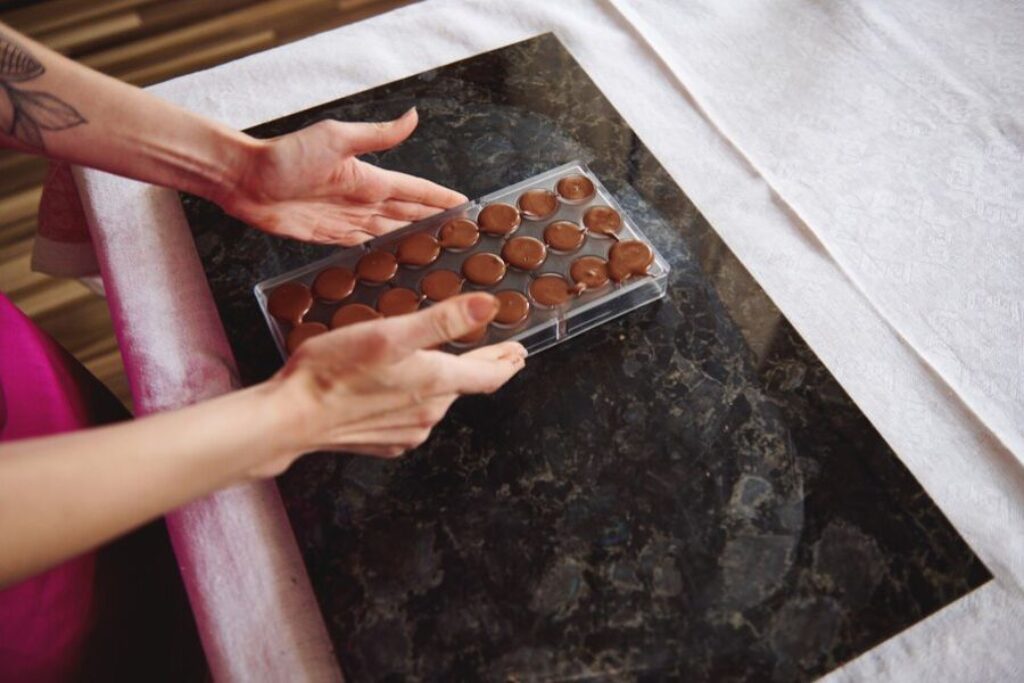
Step 5: Pour and Set
- Pour the chocolate mixture into your molds or ice cube trays. Tap the molds gently on the counter to remove air bubbles.
- Let them cool at room temperature for 10-15 minutes before transferring them to the fridge. Allow them to set completely (about an hour).
Fun Fact: Did you know that chocolate sets faster in the fridge but tastes better when cooled slowly? If you’re feeling patient, let it harden at room temp.
How to Store Your CBD Chocolates
- Room Temp: Keep them in an airtight container in a cool, dry place for up to two weeks.
- Fridge: Store in the fridge for a longer shelf life (but bring them to room temp before eating for the best flavor).
- Freezer: Want to stash them for months? Freeze them in a sealed bag or container.
Dos and Don’ts
- Use high-quality CBD oil for the best flavor and effects.
- Experiment with different chocolates and mix-ins to find your perfect combo.
- Share your creations with friends (or don’t… we won’t judge).
- Skip the measuring step for CBD oil. Dosing matters!
- Overheat the chocolate. Burnt chocolate is no fun for anyone.
- Forget to take cute pictures for Instagram. #HomemadeCBDLove
Final Thoughts
Making CBD-infused chocolates at home isn’t just fun—it’s a way to create something personal and delicious. Whether you’re indulging yourself or sharing the love, these chocolates are sure to impress. So grab your favorite ingredients, get creative, and start crafting your perfect CBD treats.
PS: If you mess up the first batch, no worries. Melt it down and try again. Practice makes perfect (and gives you more chocolate to eat along the way). Cheers to chill vibes and sweet creations!


